Nail Art for Total Beginners: Zero Talent Needed (Seriously!)
Ready to turn plain nails into cute designs—without any drawing skills or salon visits? Welcome to the Beginner’s Guide to Nail Art Made Simple! Perfect for beauty lovers craving easy, affordable fun, this guide is made for total beginners.
No stress, no fancy tools, just quick, foolproof steps using basics you already have (or can grab cheaply). In under 30 minutes, create adorable looks like polka dots, stripes, and accent nails that look surprisingly pro. Let’s make nail art effortless and exciting your first pretty manicure starts now!
Why Nail Art is Perfect for Beginners (Motivation & Mindset)
Nail art is all about fun self-expression—no drawing skills or pro tools required! This guide is tailored for total beginners who want stress-free, at-home results. Say goodbye to shaky-hand worries and hello to quick confidence boosts. In under 30 minutes, you’ll create cute, polished looks that feel salon-worthy.
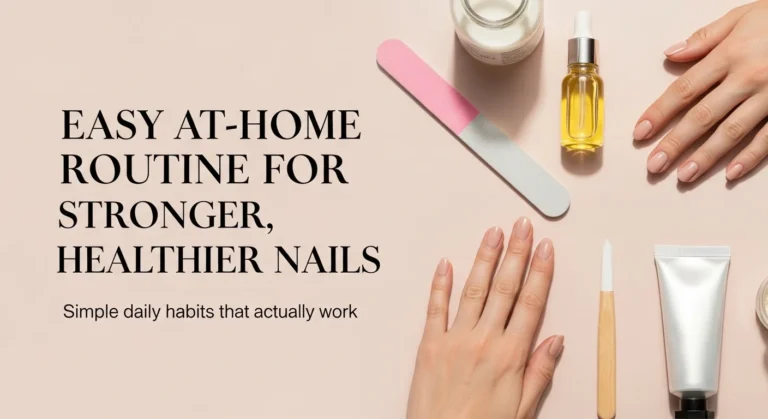
Nail Prep: The Foundation for Success (Essential First Steps)
Start with clean, shaped nails: gently file to your desired shape, lightly buff for smoothness, and push back cuticles (never cut harshly). Good prep ensures designs last longer and look cleaner. Follow this quick 5-minute routine every time for flawless results.
For more on keeping cuticles healthy: How to Prevent Dry Cracked Cuticles – Simple Daily Care Routine
Essential Tools & Supplies
Keep it simple, start with these basics: base coat, top coat, 3–5 polishes, dotting tool (or toothpick), striping tape, nail file, and remover. No need for expensive kits; drugstore finds work great. Household hacks like Scotch tape for lines make it even easier.
Must-have minimal tools to start:
Discover clean, simple styles to try first: Minimalist Nail Art for Beginners
Nail Polish Basics:
Apply thin, even coats (two thin layers beat one thick one), let each dry fully, and use quick-dry top coat. Avoid bubbles by rolling the bottle instead of shaking. These basics prevent peeling and streaking for a pro finish.
Super Easy Beginner Techniques (Build Skills Step-by-Step)
Master these no-fail methods: random dots with a toothpick, straight lines using tape, half-moons for negative space, single accent nails, and easy glitter sponging. Start small—one design per hand—to build confidence without overwhelm.
Foolproof Simple Designs with Step-by-Step Instructions
- Polka Dots: Cute and forgiving classic.
- Stripes: Modern and clean.
- Easy French Tips with a twist.
- Half-Moon Accent: Trendy negative space.
- Simple Hearts or Flowers via dotting tool.
- Glitter Fade Accent: Instant glam.
- Seasonal Easy (pastels or metallics).
Each includes numbered steps, time estimate, and tips. Explore seasonal ideas: Seasonal Nail Inspiration
Easy Nail Art Designs for Beginners
These designs are perfect for total beginners—using just basic tools like a dotting tool (or toothpick), striping tape, and a few polishes. Each takes under 30 minutes, looks adorable, and builds confidence fast. Start with clean, prepped nails and a base coat for the best results! 💅
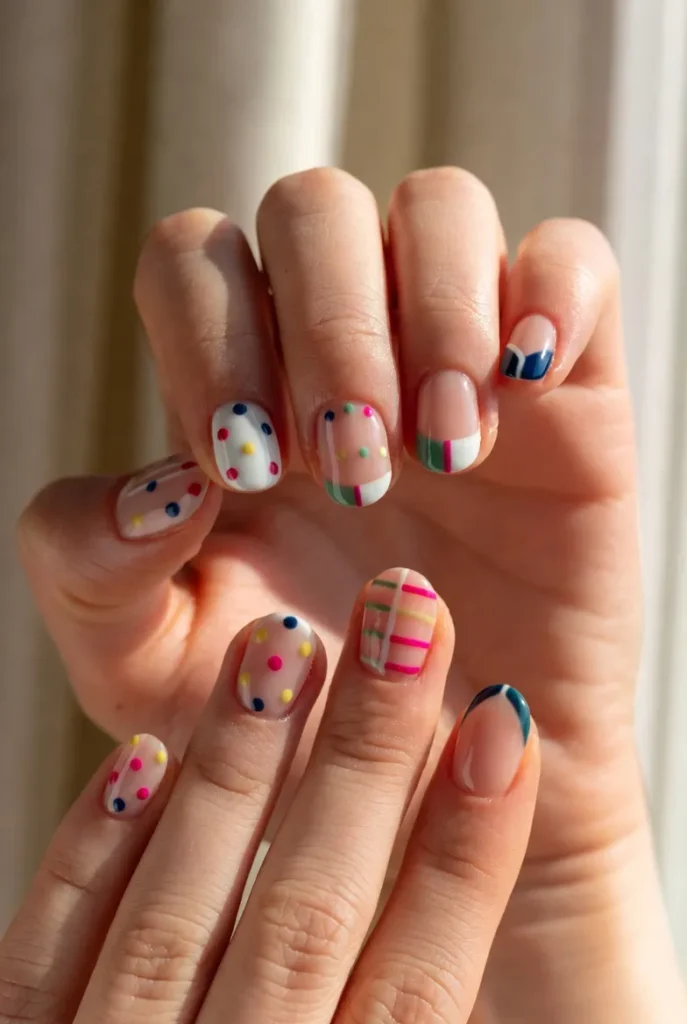
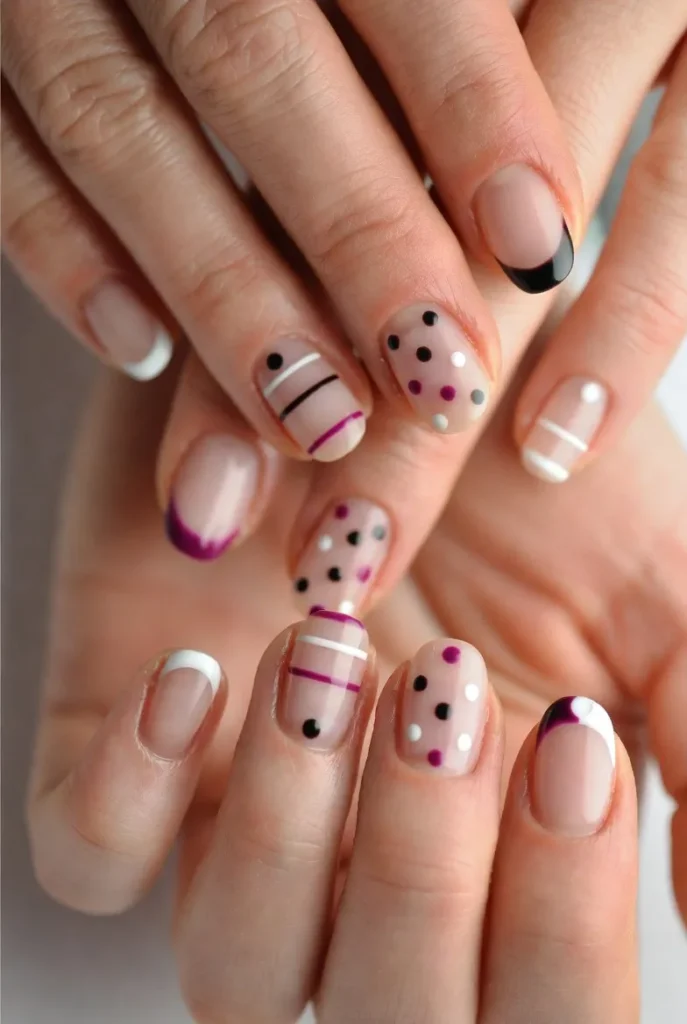
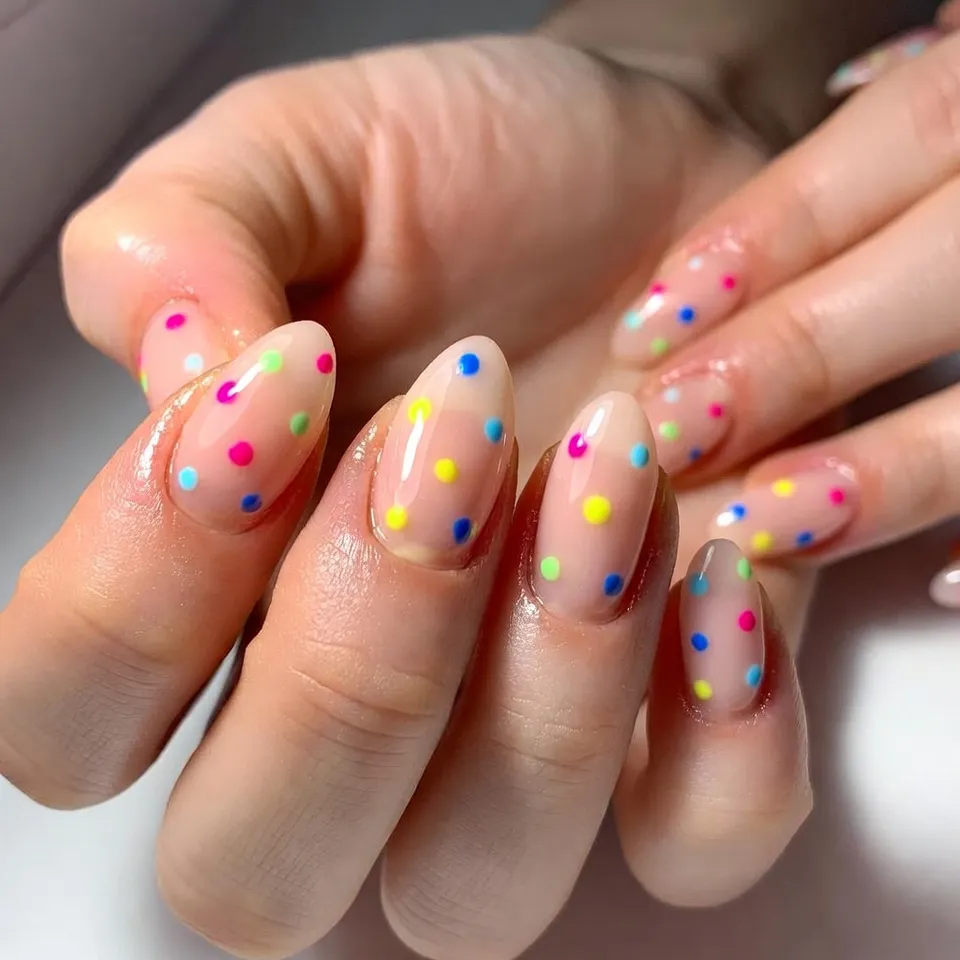
1. Classic Polka Dots
The ultimate no-fail starter design! Apply a nude or sheer base polish. Once dry, dip a dotting tool (or toothpick end) into bright colors and gently stamp random or patterned dots across the nails. Finish with top coat. Super forgiving—even uneven dots look cute!
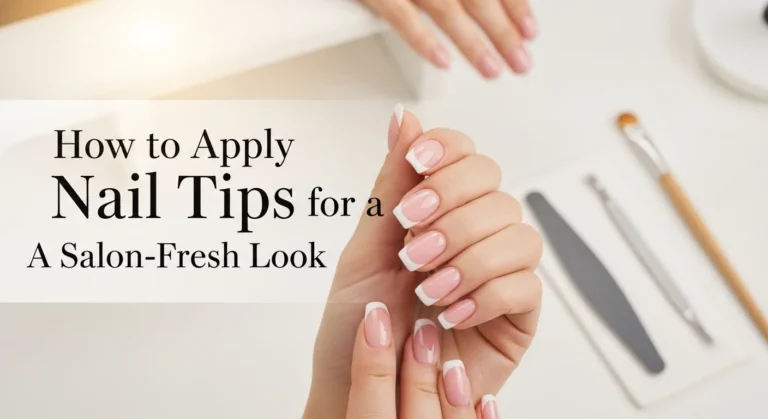
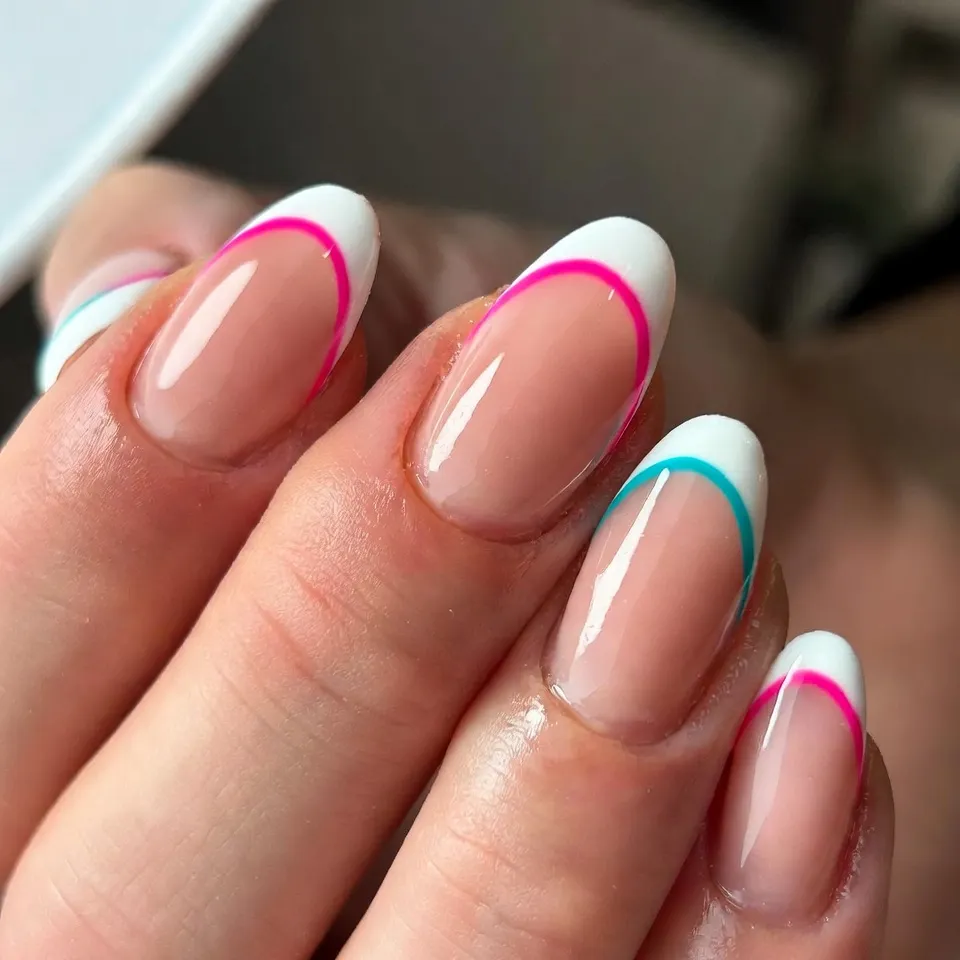
2. Simple French Tips with a Twist
A fresh take on classic French: Paint a nude or light pink base. Use tape to create a clean line near the tip, paint the tip white or a soft color, then add a tiny dot or line accent with a contrasting shade for fun. Remove tape carefully and seal with top coat. Looks polished but easy!
Common Beginner Mistakes & How to Fix/Avoid Them
Thick polish causes bubbles/peeling—use thin coats. Smudging? Wait longer before top coat. Shaky lines? Rest elbows on table. Chips fast? Always use base/top coat + daily oil. Start small to avoid frustration.
Make It Last Longer: Longevity Tips
Apply cuticle oil daily, wear gloves for chores, touch up chips quickly, and refresh every 7–10 days. These habits keep designs looking fresh without salon visits.
Next Steps: Leveling Up When You’re Ready
Add one tool/technique at a time (try stamping next). Watch free YouTube beginner playlists. Practice weekly challenges. For matching your looks: How to Match Nail Art with Your Outfit
Stay updated on fresh ideas: Trending Nail Designs
Quick Reference Cheat Sheet
- 5-minute prep checklist
- Tool shopping list
- Top 3 easiest designs recap
- Troubleshooting mini-guide
(If you later explore electric tools for faster prep: Nail Drill Guide: Uses, Safety, and Practical Tips)
FAQ
Q: What is the easiest nail art for beginners? A: Start with polka dots or simple stripes using a dotting tool or tape—super forgiving and cute in under 30 minutes.
Q: Do I need special tools to start nail art? A: No just base coat, top coat, a few polishes, a dotting tool (or toothpick), and tape. Everything’s cheap and available at drugstores.
Q: How do I make nail art last longer? A: Use base and top coat, apply thin layers, add daily cuticle oil, and wear gloves for chores.
Q: Can beginners do nail art without shaking hands? A: Yes rest your elbow on the table, breathe steadily, and use tape or stickers for straight lines.
Q: How long does beginner nail art take? A: Most simple designs take 20–40 minutes total, including drying time.
Q: What if my nail polish bubbles or peels? A: Apply thin coats, roll (don’t shake) the bottle, and always use base/top coat to prevent peeling.
Q: Is nail art expensive for beginners? A: Not at all-start with under $20–30 on basic supplies from local stores or online.