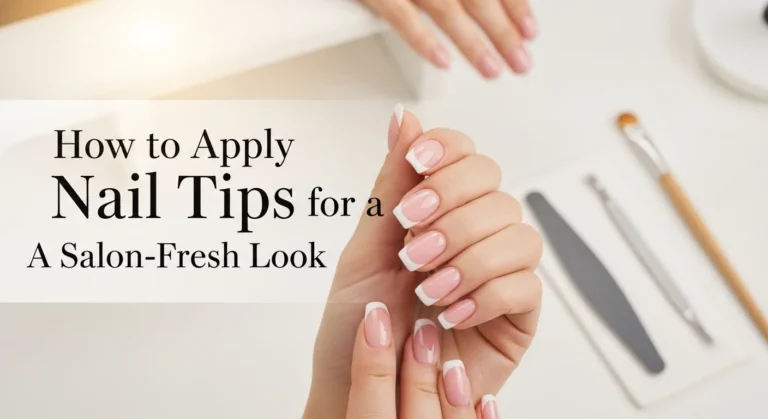
How to Shape Nails Like a Pro at Home
To shape nails at home like a pro, trim them to your preferred length, then file gently in one direction. Choose a shape that suits your hands, such as round, square, or oval. Use a buffer to smooth edges and finish with cuticle care. This keeps nails neat, polished, and salon-quality without leaving home.
You can shape nails at home by trimming with a nail cutter, filing in one direction, and choosing a nail shape that suits your hand and nail type. Common shapes include round, square, and oval. Beginners should use basic tools (nail cutter, file, buffer) and follow gradual steps to avoid breakage.
Why Nail Shaping Matters
- Helps prevent snags, cracks, and uneven growth.
- Enhances the look of hands and fingers.
- Allows nails to better support polish or nail art.
Learn how to fix brittle nails that snap too easily before shaping them.
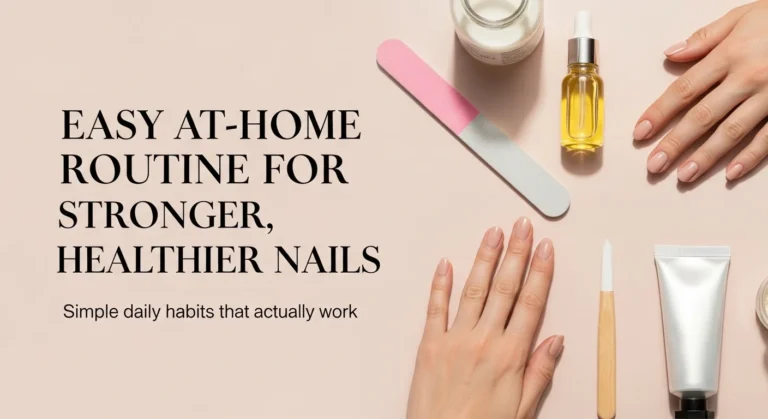
Essential Tools
| Tool | Purpose | Notes |
|---|---|---|
| Nail cutter | Initial trimming | Best for shortening before shaping. |
| Nail file (180–240 grit) | Refining shape | File in one direction to avoid splitting. |
| Nail buffer | Smooth edges and surface | Avoid over-buffing to protect nail health. |
| Shaping guide/tool | Consistency | Useful for beginners learning symmetry. |
Step-by-Step: How to Shape Nails at Home
1. Prepare Nails
- Wash and dry hands.
- Remove old polish.
- Soften nails slightly by soaking in warm water (optional).
2. Trim (If Needed)
- Use a nail cutter for length.
- Cut small sections rather than in one snap to prevent cracks.
3. Choose a Nail Shape
Common beginner-friendly shapes:
- Round – Easiest, low-maintenance, reduces snagging.
- Square – Flat edge with sharp corners; popular but needs careful filing.
- Oval – More elongated, softens wider nail beds.
- Squoval – Mix of square and oval; balanced look.
4. File for Shape
- Hold the file at a slight angle.
- Move in one direction (not back and forth).
- Use longer strokes for smooth edges.
- Check nails under good light for symmetry.
5. Finish and Smooth
- Buff lightly for polish-ready nails.
- Apply cuticle oil or moisturizer.
Explore 10 easy nail art ideas you can do at home once your nails are shaped.
Nail Shape Guide: Which Shape Suits You?
| Nail Shape | Best For | Maintenance Level |
|---|---|---|
| Round | Beginners, active lifestyle | Low |
| Square | Strong nails, modern look | Medium |
| Oval | Long nail beds, elongating fingers | Medium–High |
| Squoval | Universal choice | Medium |
| Almond/Stiletto | Advanced users, fashion styles | High |
Safety & Maintenance Tips
- Avoid filing wet nails — they’re more prone to tearing.
- Do not over-buff; it thins the nail plate.
- Use fine-grit files for natural nails.
- Trim nails regularly to maintain shape.
- Disinfect tools after each use.
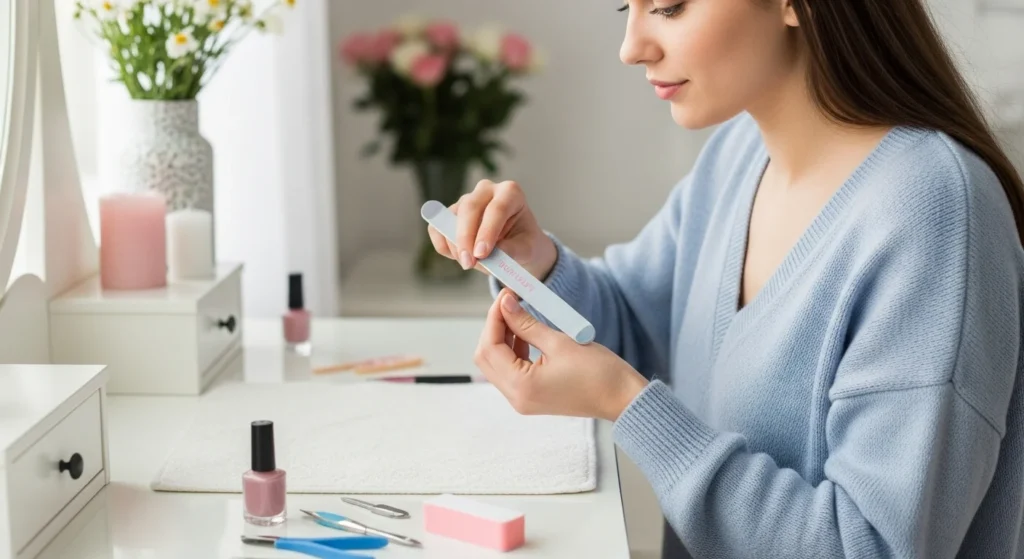
How to Shape Nails at Home with a Nail Cutter
To shape nails with a cutter, trim slowly in small sections, follow the curve or straight line you want, then smooth edges with a file.
Step-by-Step Guide
1. Prepare Your Nails
- Wash and dry your hands.
- Remove any polish so you can see the nail edge clearly.
2. Choose Your Shape
- Round: Cut along the natural curve of your fingertip.
- Square: Cut straight across, then gently smooth the corners.
- Oval: Cut with a soft curve, leaving more length at the center.
3. Trim with a Nail Cutter
- Use small, controlled cuts instead of one big clip.
- Start from one side and move toward the center for even results.
- Avoid cutting too close to the skin to prevent discomfort.
4. Smooth and Refine
- After cutting, use a nail file to round sharp edges.
- File in one direction only to reduce splitting.
Tips for Beginners
- If unsure, start with a round shape, it’s easiest and least likely to snag.
- Always disinfect your cutter before and after use.
- Cut nails when they are dry for cleaner edges.
Check out tips for taming dry, cracked cuticles to keep your nails healthy.
How to Shape Nails Round for Beginners
Trim nails slightly longer than the fingertip, then file in a smooth curve that follows the natural shape of your finger.

Steps:
- Cut nails with a clipper, leaving a little length.
- Use a file at a slight angle, moving in one direction.
- Round the corners gently until they match your fingertip’s curve.
Why It Works:
Round nails are the easiest to maintain and less likely to break, making them ideal for beginners.
Nail Shaping Guide Tool
A nail shaping guide tool is a small accessory (often plastic or metal) that helps create consistent shapes when filing.
- How to Use: Place the guide over the nail edge to mark where to file.
- Best For: Beginners who want even results on both hands.
- Note: Not required, but useful if symmetry is difficult.
How to Shape Square Nails at Home
Cut nails straight across, then file the top flat with sharp corners or slightly soften them for comfort.
Steps:
- Clip nails to the same length.
- Use a file to flatten the free edge.
- Keep corners crisp for a bold square, or round them slightly for a “squoval.”
Best For:
People with stronger nails, since corners can chip more easily.
Find inspiration in the latest trending nail designs after perfecting your shape.
How to Shape Short Nails at Home
Keep edges neat and simple, round or squoval works best on short nails.
Steps:
- Clip nails close to the fingertip.
- File lightly to round corners or keep them square.
- Buff edges to prevent snagging.
Tip:
Short nails look more polished when all are kept at a uniform length.