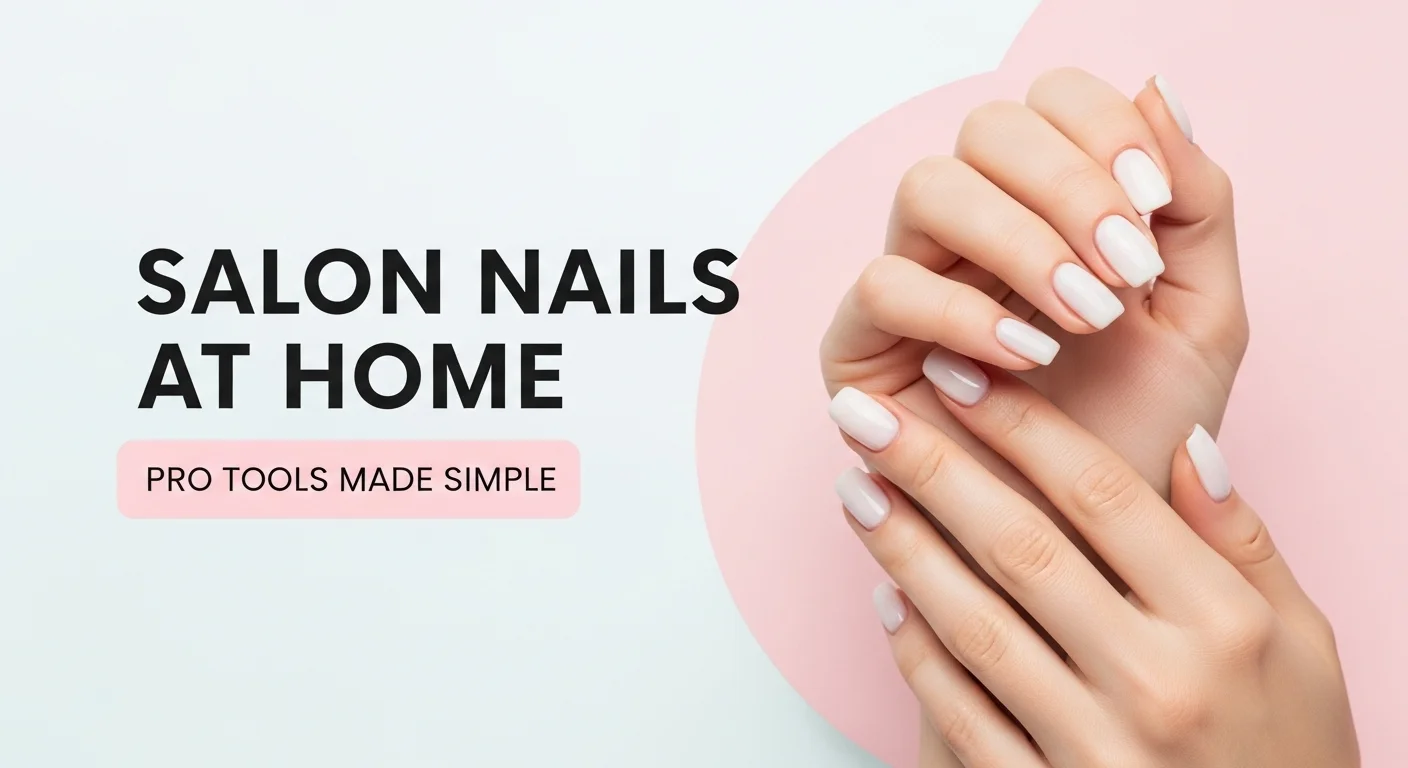
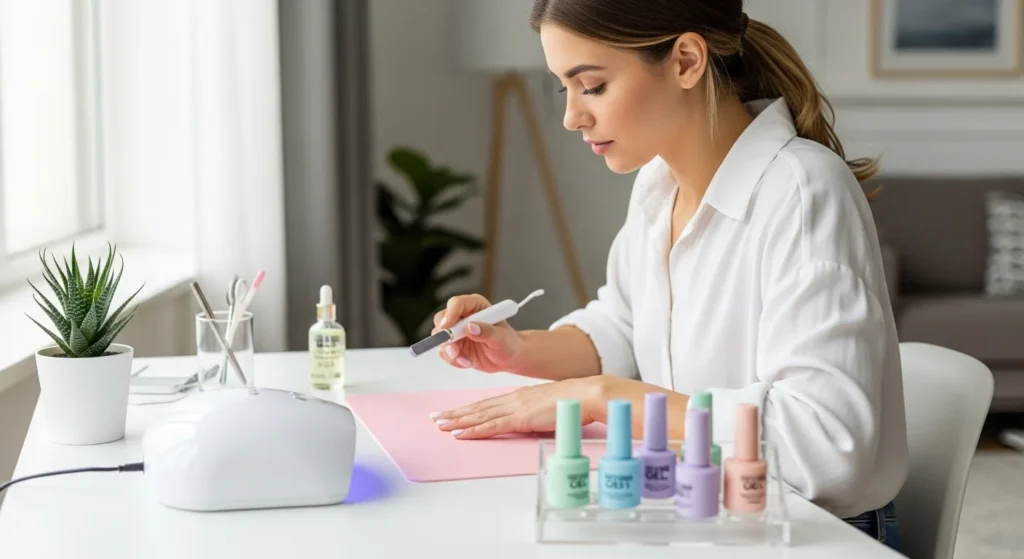
How to Get Salon-Quality Nails at Home with Pro Tools
Yes, you can achieve salon-quality nails at home with the right tools and techniques. This guide explains which pro tools to use, how to prepare your nails, and the step-by-step process for lasting results.
With proper tools and technique, salon-quality nails are within reach for anyone.
Salon-quality nails at home are absolutely achievable with the right tools and a little preparation. Beyond saving money—professional manicures can cost $20–$50 each—doing them yourself gives you flexibility and control over the look you want.
In this guide, you’ll find the essential tools, nail prep basics, and step-by-step instructions to create long-lasting, polished results without leaving home.
Why Tools Matter
Pro tools are not about complexity, they are about efficiency. With the right equipment, your efforts produce cleaner results in less time and with less frustration.
Think of it this way: using a basic nail clipper and polish brush is like cooking with a single pan, while a full set of kitchen tools makes every step easier and the result more consistent. The same principle applies to nails.
DIY vs. Pro Tools
| Without Pro Tools | With Pro Tools |
|---|---|
| Uneven nail shapes | Consistent, salon-like finish |
| Polish chips faster | Longer-lasting results |
| More time-consuming | Faster, smoother process |
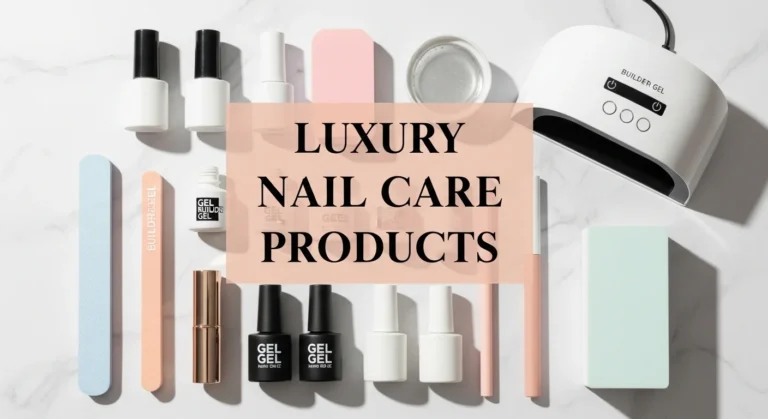
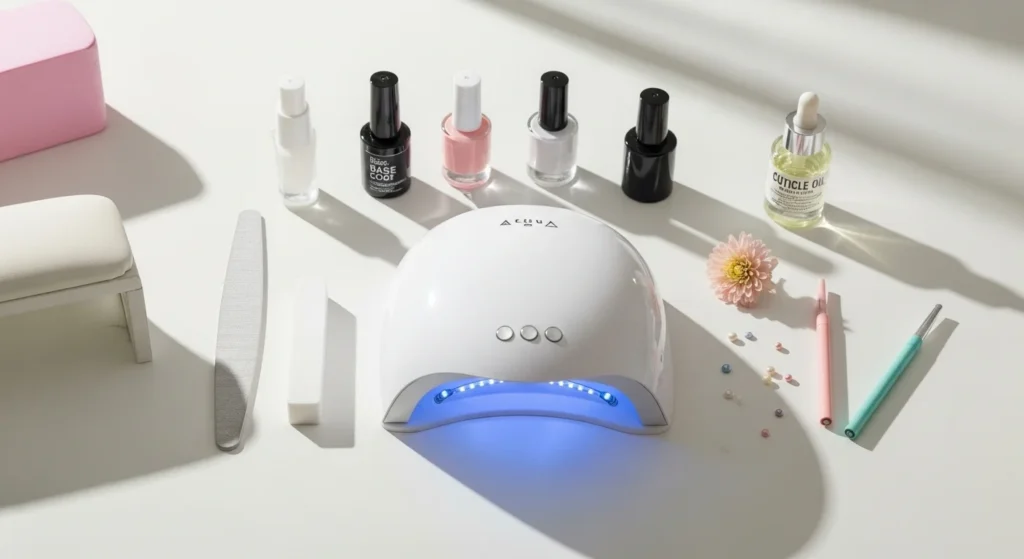
Essential Pro Tools You’ll Need
Investing in these tools sets the foundation for salon-quality results. Start with the basics, then add optional tools as your skills and style preferences grow.
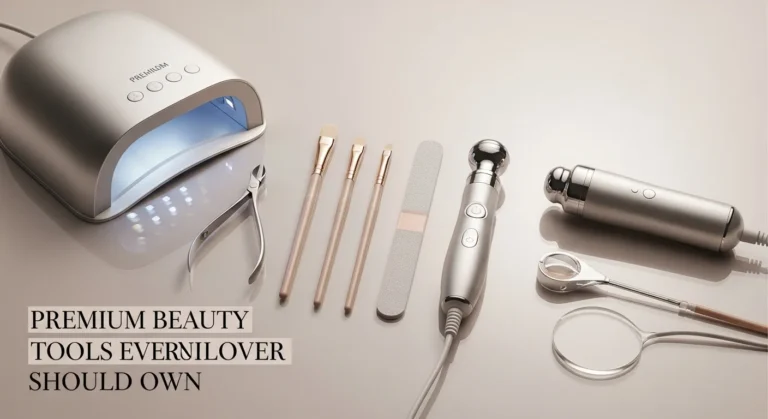
- Nail drill or e-file: Shapes nails evenly and helps remove excess cuticle or old product.
- Nail tips and glue: Add length or create extensions that blend seamlessly with natural nails.
- Buffers and files: Smooth the nail surface and refine edges with different grit levels.
- UV/LED lamp: Cures gel polish for a durable, glossy finish.
- Nail clippers and cuticle pushers: Basic tools for trimming and preparing nails before polish.
- Optional nail art brushes and dotting tools: Add detail for custom designs and creative finishes.
💡 Pro Insight
When choosing an e-file, look for adjustable speed settings (RPM) so you can safely switch between cuticle care and shaping extensions.
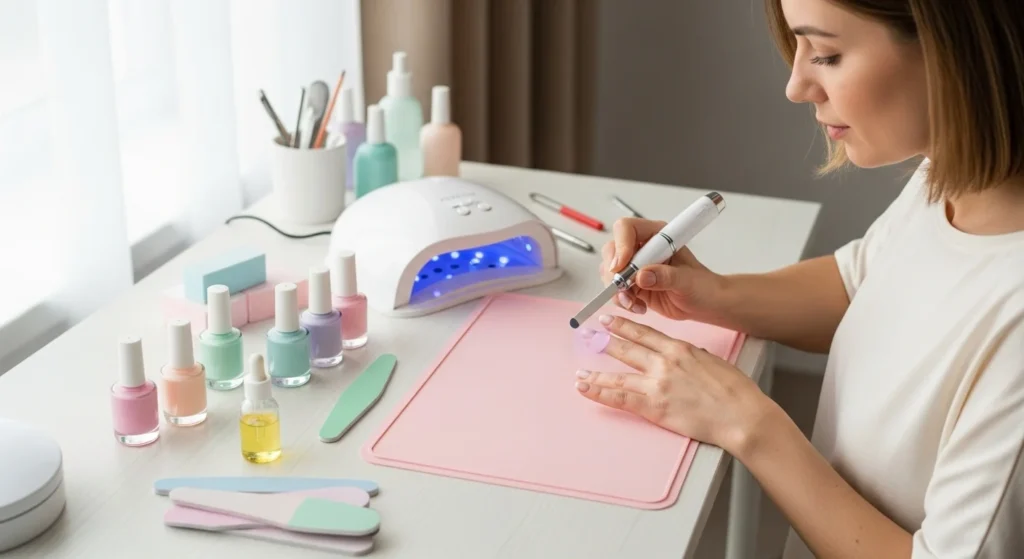
Step-by-Step: Salon-Quality Nails at Home
A professional result comes from careful prep, thin layers, and finishing with hydration. Small details, like buffing the nail surface or sealing the edges, make your manicure last longer.
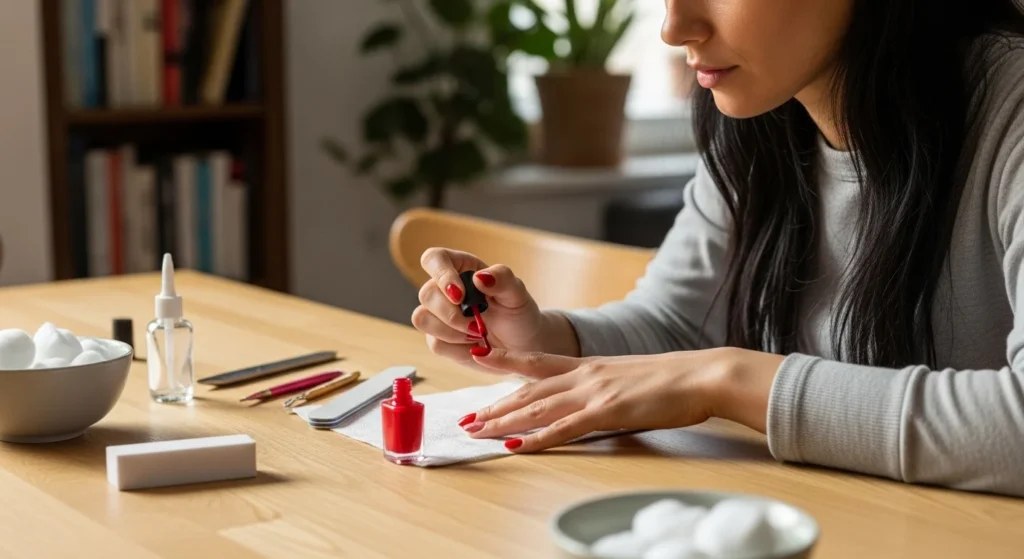
Step 1: Prep Your Nails (5 minutes)
- Wash your hands with soap and water
- Remove any old polish
- Gently push back cuticles to create a clean base
Step 2: Shape and Buff (8 minutes)
- Use a nail file or e-file to shape nails evenly
- Lightly buff the surface to remove shine and help polish adhere
Step 3: Apply a Base Layer (3 minutes + curing time)
- Brush on a thin coat of strengthening base polish
- Cure under a UV/LED lamp if using gel
Step 4: Add Extensions (Optional, 10–15 minutes)
- Apply nail tips with glue if you want added length
- Blend the edges so the transition looks natural
Step 5: Apply Polish (10–15 minutes including curing)
- Paint thin, even layers of polish
- Cure each layer under a UV or LED lamp for durability
Step 6: Seal and Finish (5 minutes)
- Apply a glossy top coat to lock in color
- Hydrate nails and skin with cuticle oil for a polished final look
⏱️ Total Time: About 30–45 minutes for a full set, depending on whether you add extensions.
💡 Pro Insight
Always prep one hand at a time. This prevents polish from smudging while you’re working on the other hand, especially during curing.
Tips for Long-Lasting Results
Small daily habits, like oiling cuticles and sealing polish edges, extend the life of your manicure and reduce the need for early touch-ups.
- Cap the free edge: Seal the tip of each nail with polish to reduce chipping.
- Hydrate daily: Apply cuticle oil to keep nails flexible and prevent breakage.
- Protect with gloves: Limit contact with harsh cleaning products or hot water by wearing gloves.
- Maintain regularly: If using extensions, plan a refill or rebalance every 2 to 3 weeks to keep nails strong and even.
Quick Fixes: Troubleshooting Common Issues
| Problem | DIY Fix | Pro Fix |
|---|---|---|
| Polish starts peeling | Lightly buff the edge, reapply a thin layer of top coat, and seal the tip. | Professional soak-off and reapplication for a smooth, even finish. |
| Nail lifting at the base | Gently file the lifted edge and apply clear builder gel as a patch. | Full rebalance or reapplication with proper prep to prevent recurring lift. |
| Dry, peeling cuticles | Massage cuticle oil twice daily and use a hydrating hand cream. | Salon-level paraffin wax treatment or professional cuticle care. |
| Matte or dull finish | Apply a fresh layer of top coat and cure again. | Complete polish removal and reapplication for a longer-lasting shine. |
💡 Pro Insight
If lifting or peeling happens repeatedly, it’s often a sign of incomplete prep — not just product failure. A professional rebalance can reset the foundation for healthier growth.
Common Mistakes to Avoid
Careful prep, thin layers, and clean tools are the foundation of any salon-quality result at home.
| Mistake | Do This Instead |
|---|---|
| Skipping nail prep | Clean, file, and push back cuticles before polish to prevent peeling. |
| Applying thick polish layers | Use thin, even coats and cure each layer fully for a smooth finish. |
| Not cleaning tools | Disinfect files, brushes, and clippers after every use to reduce infection risk. |
| Over-filing the nail plate | File gently and only as needed to avoid thinning and weakening natural nails. |
| Curing under the wrong lamp | Match gel polish type (UV or LED) with the correct lamp to ensure proper curing. |
💡 Pro Insight
- Why over-filing matters: Thinning the nail plate makes nails more prone to breakage and peeling. Always let the tool do the work, not pressure.
- Why the right lamp counts: Gel formulas are designed for either UV or LED light. Using the wrong one can leave polish under-cured, leading to lifting or even skin irritation.
What’s the Secret to Home Manicures Looking Professional?
The difference between a DIY manicure and a salon one usually comes down to three things: prep, precision, and patience.
- Nail Prep is Everything
Clean nails, smooth cuticles, and an even nail surface make polish adhere better and look flawless. Skipping prep is the fastest way to get a patchy, short-lived manicure. - Thin, Even Layers
Professionals apply polish in thin coats, curing or drying each one completely. Thick layers may look faster but often bubble, streak, or chip sooner. - Finishing Touches
Small details separate a professional look from a rushed one:- Capping the free edge with polish to seal it
- Cleaning stray polish from skin with a fine brush
- Hydrating nails and cuticles for a healthy finish
💡 Pro Insight
The real “secret” isn’t just the polish, it’s the process. Professionals spend more time on prep and finishing than on painting itself. Re-creating that balance at home gives you salon-level results.
How to Do a Perfect Manicure at Home Like a Pro
With patience and the right tools, anyone can achieve a polished, professional manicure at home.
1. Prep Your Nails (5 minutes)
- Wash and dry hands thoroughly.
- Remove old polish completely.
- Push back cuticles gently with a cuticle pusher.
2. Shape & Smooth (5 minutes)
- Use a nail file or e-file to shape nails evenly.
- Buff the surface lightly to remove ridges and create a smooth base.
3. Apply a Base Coat (2 minutes)
- Use a strengthening base coat to protect natural nails and improve polish adhesion.
4. Add Extensions (Optional, 10 minutes)
- Apply nail tips with glue if you want longer nails.
- Blend edges carefully for a seamless finish.
5. Apply Color in Thin Layers (10 minutes)
- Brush on thin coats of polish, curing under a UV/LED lamp if using gel.
- Let each layer fully cure before adding the next.
6. Seal & Hydrate (3 minutes)
- Apply a glossy or matte top coat, capping the free edge for durability.
- Finish with cuticle oil to keep nails nourished.
Should You Soak Nails Before a Manicure?
Soaking softens cuticles and feels relaxing, but it can also cause nails to absorb water and expand. Once they dry, polish may chip sooner. Many professionals now prefer waterless manicures: using cuticle softener and gentle filing instead. Both work, but if you soak, keep it under 5 minutes and dry nails thoroughly before polishing.
💅 How to Do a Gel Manicure at Home
The main difference between a regular manicure and gel is curing under a UV/LED lamp.
- Prep nails and push back cuticles.
- Apply base coat, cure 30–60 seconds.
- Apply thin layers of gel polish, curing between coats.
- Seal with top coat and cure fully.
- Wipe with alcohol (if needed) for a smooth, glossy finish.
Always match your gel polish with the right type of curing lamp. Some gels are formulated for UV lamps, others for LED lamps, and using the wrong one can mean under-cured polish that peels or lifts quickly.
A good rule of thumb: check the polish label for “UV” or “LED” before starting. If you’re investing in tools, many modern lamps are dual-cure, which work with both types and save you the guesswork.
DIY vs At-Home Manicure Services
Some people prefer a mobile nail technician who visits their home, while others enjoy doing it themselves.
| Option | Pros | Cons |
|---|---|---|
| DIY Manicure | Affordable, flexible timing, learn skills | Requires tools, practice, and patience |
| At-Home Service | Professional results, minimal effort | Higher cost, need appointment availability |
What If I Want a Polish-Free Manicure?
Not everyone wants color. A natural manicure looks clean and healthy without polish:
- Shape nails evenly
- Buff lightly for a soft sheen
- Push back cuticles
- Apply cuticle oil and hand cream
What Goes in an At-Home Manicure Kit?
A basic starter kit should include:
- Nail clippers & file
- Buffer block
- Cuticle pusher & oil
- Base coat, color polish, top coat
- UV/LED lamp (for gel polish)
Optional: Nail drill/e-file, nail tips, and nail art brushes for more advanced designs.
What’s the Best At-Home Manicure Routine?
The “best” routine balances prep, thin polish layers, and daily care.
- Prep nails properly
- Apply base coat + 2 thin color coats + top coat
- Cap the free edge
- Hydrate with cuticle oil daily
- Protect nails with gloves during chores
💡 Pro Insight: Professionals spend most of their time on prep and finishing touches, not just painting. That’s the real secret to salon-like results.