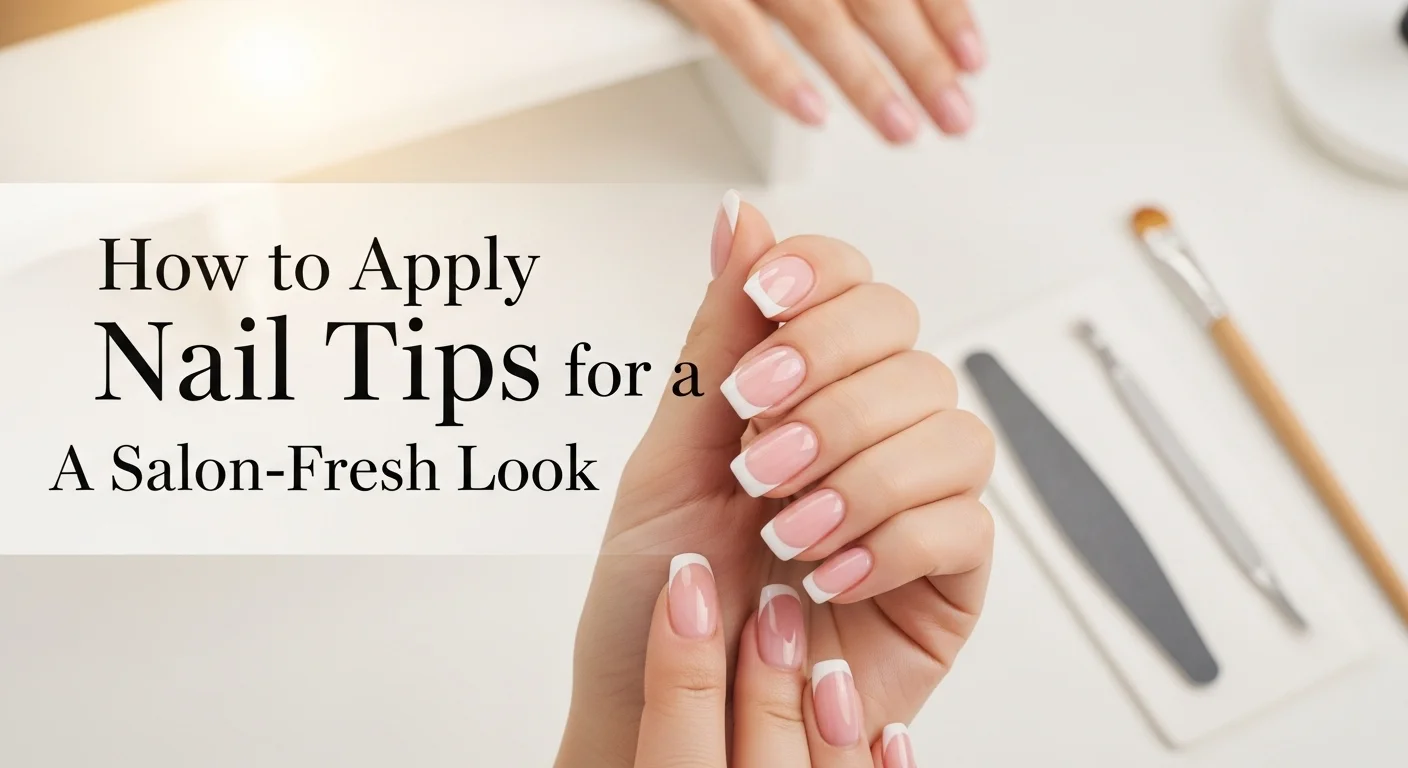
How to Apply Nail Tips for a Salon-Fresh Look
To achieve a salon-fresh look, start by choosing the right nail tip size. Apply a thin layer of glue or builder gel, press the tip firmly, and trim to your desired length. Blend the seam with a file for a smooth finish. Finish with gel or regular polish for a natural, long-lasting result.
Nail tips can give you a salon-fresh appearance at home if you focus on prep, proper sizing, and careful blending. The next sections will guide you step by step so you can get consistent, professional results every time.
Why it matters
- Proper tip application prevents lifting and chipping, making your manicure last longer.
- Blending and shaping the tips correctly creates a natural, seamless finish that looks salon-made.
- Using the right adhesive and polish ensures durability while protecting your natural nails.
Example: Applying tips without prepping your nails first can reduce wear time by half, while a proper prep routine increases longevity and gives a smoother finish.
Want your nail tips to last longer and look flawless? Check out Why Premium Nail Tips Last Longer and Look Better for expert tips.
Nail Tip Options
Selecting the right tip type and material sets the foundation for a durable, natural-looking manicure and makes the application process smoother.
Full Cover Tips
- Cover the entire natural nail from base to tip.
- Ideal for dramatic length or uniform shape.
- Provide strong support for longer nails.
Partial Coverage Tips
- Cover only the upper portion of the nail, leaving more of your natural nail exposed.
- Offer a subtler, more natural look.
- Great for shorter nails or beginners.
Material Choices
- Plastic Tips: Lightweight, affordable, and easy to shape, suitable for short-term wear.
- Acrylic Tips: Durable, strong, and long-lasting, often used with acrylic overlays.
- Gel Tips: Flexible, natural-looking, and easier to blend seamlessly with gel polish.
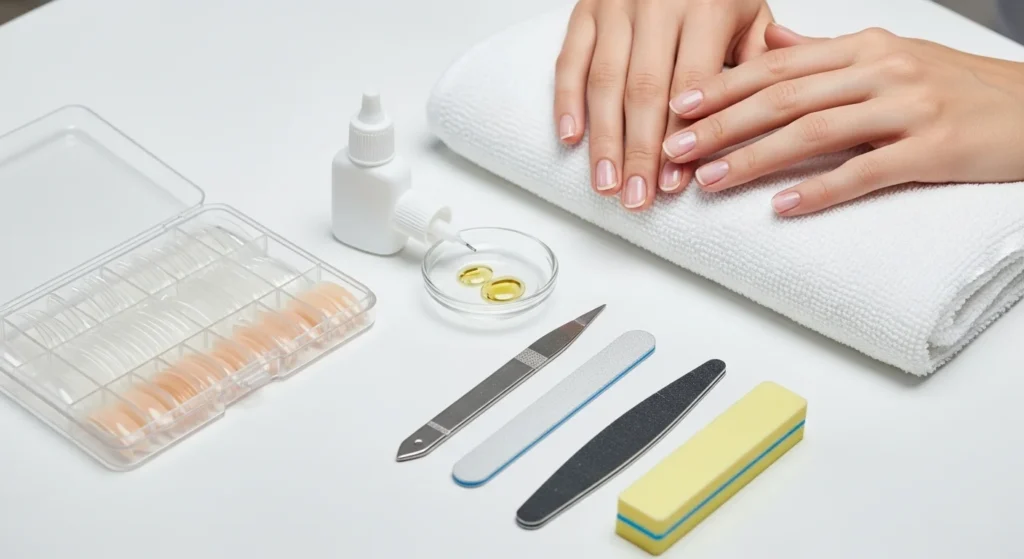
Essential Tools and Products
Having all essential tools ready before starting makes the process smoother and helps you achieve a natural, long-lasting, salon-style manicure.
Nail Tips
- Choose tips that match your desired shape, length, and material.
- Ensure the width fits your natural nail for a smooth, gap-free application.
Adhesives
- Nail Glue: Fast-drying and easy to use, ideal for beginners.
- Builder Gel: Provides stronger adhesion and flexibility.
- UV Gel: Requires curing under a lamp but offers a seamless finish.
Preparation Tools
- Nail file and buffer to shape nails and smooth the surface.
- Cuticle pusher to gently push back cuticles for clean application.
- Nail dehydrator to remove oils and moisture for better tip adhesion.
Finishing Products
- Top coat or gel polish adds shine and protects the tip.
- Dip powder can create a long-lasting, durable finish while keeping nails strong.
Looking to shape your nails perfectly at home? Learn how in How to Shape Nails Like a Pro at Home.
Step-by-Step Application Process
Proper prep, careful fitting, and smooth blending are the keys to a salon-quality finish that looks natural and lasts.
1. Nail Preparation
- Cleanse nails with a gentle cleanser to remove dirt and oils.
- Push back cuticles and trim any excess skin for a clean base.
- Buff the nail surface lightly to remove shine.
- Apply a nail dehydrator to improve adhesion and prevent lifting.
2. Sizing and Fitting Tips
- Select a tip that matches the width of your natural nail.
- Ensure it fits snugly without gaps for a smooth look.
3. Applying Adhesive
- Apply a thin layer of nail glue or builder gel to the tip or natural nail.
- Press the tip onto the nail, holding firmly for a few seconds to secure.
4. Blending the Tip
- Use a fine-grit file to gently blend the seam between the tip and natural nail.
- Shape the nail to your preferred length and style.
5. Finishing Touches
- Apply a top coat or gel polish for shine and protection.
- If using gel, cure under a UV or LED lamp according to product instructions.
Worried about nail damage from gels or acrylics? Read Recovering from Gel or Acrylic Damage to protect and restore your nails.
Troubleshooting Common Issues
Addressing these common issues early keeps your manicure looking seamless and long-lasting, saving time and frustration.
Lifting Tips
- Often caused by insufficient nail prep or excess moisture.
- Make sure nails are clean, dry, and lightly buffed before applying tips.
- Avoid using too much glue, which can cause uneven adhesion.
Uneven Blending
- Occurs when the seam between the tip and natural nail is visible.
- File gently with a fine-grit buffer, checking frequently for a smooth transition.
- Blend gradually rather than removing large amounts at once.
Short Nails
- Standard full tips may look unnatural or lift easily.
- Choose partial coverage tips to fit short nails better.
- Ensure the width matches the nail for a snug, secure fit.
Want faster, healthier nail growth? Discover simple methods in Boosting Slow Nail Growth Naturally.
Maintenance and Removal
Regular care and careful removal keep your nails healthy and ready for the next salon-quality application.
Maintenance
- Moisturize cuticles and nails regularly to prevent dryness and brittleness.
- Avoid using your nails as tools to reduce breakage and lifting.
- Check for loose tips and gently press them back if needed.
Removal
- Soak nails in acetone or a gentle nail remover to loosen adhesive.
- Use a cuticle pusher to carefully lift tips without damaging the natural nail.
- Avoid forceful removal, which can weaken nails and cause peeling.
Step-by-step tutorials & how-to guides for nail care pros and beginners
Pro Beauty Chic Tutorials & How-To