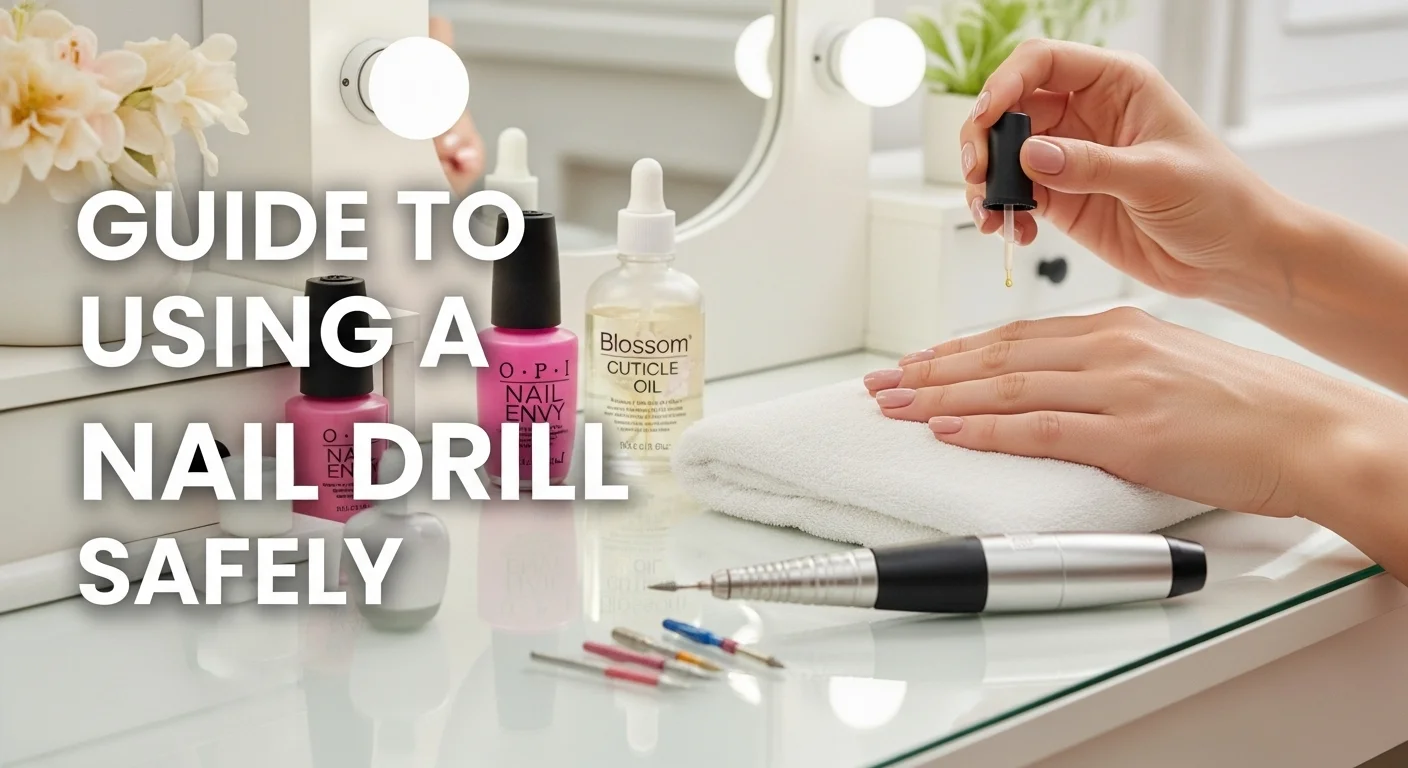
Step-by-Step Guide to Using a Nail Drill Safely
Start with a clean nail drill and sanitized bits. Choose a low speed for beginners. Gently shape natural nails or remove gel polish, keeping the drill steady. Avoid cuticles to prevent injury. Work in short bursts, checking progress. Clean nails after drilling. Always disinfect tools post-use for hygiene.
Why Safe Nail Drilling Matters for Beginners
Master safe nail drilling to unlock salon-quality nails at home.
Understanding Nail Drills
- What they are: Handheld electric tools with spinning bits for filing, buffing, or removing nail enhancements.
- Uses: Shape natural nails, smooth gel polish, or remove acrylics quickly.
- Benefit: Saves time and money compared to salon visits (up to $50 per session).
Common Risks and How to Prevent Them
Mistakes happen, especially for beginners. Here’s what to watch for and how to stay safe:
- Nail thinning: Pressing too hard or using high speeds can weaken nails. Use low RPM (5,000–10,000) and light touches.
- Heat buildup: Drilling too long in one spot can cause burning. Work in 10-second bursts, lifting the drill to cool.
- Skin irritation: Hitting cuticles or skin can cause redness. Stick to fine bits and focus only on the nail surface.
Learn how to choose the perfect nail drill bit for your specific tasks.
A 2024 Nail Tech Journal study found 30% of DIY drill users face minor nail damage from poor technique. Proper use keeps your nails healthy.
Why It’s Worth the Effort
- Cost savings: Skip salon fees and maintain nails at home.
- Customization: Perfect your manicure or pedicure exactly how you like it.
- Confidence boost: Safe drilling means professional results without stress.
Essential Tools and Preparation: What You’ll Need
Gather your tools and prep like a pro to make drilling safe and easy.
Must-Have Tools for Nail Drilling
Start with the essentials to ensure precision and safety:
- Nail drill: A compact, adjustable-speed model (5,000–20,000 RPM) works best for beginners.
- Drill bits: Carbide bits for acrylics, sandstone for natural nails, and fine bits for cuticles.
- Sanitizer: Isopropyl alcohol (70% or higher) to clean bits and prevent infections.
- Protective eyewear: Shields eyes from dust; 80% of pros recommend this (Nail Tech Journal, 2024).
- Optional: A dust collector or small towel to keep your workspace tidy.
Prep Steps for a Safe Session
A clean, organized setup helps you focus and avoid mishaps. Follow these steps:
- Sanitize tools: Wipe the drill and bits with alcohol to kill bacteria.
- Secure your workspace: Use a stable table with good lighting to see fine details.
- Clean nails: Wash and dry hands or feet to remove oils and dirt for better drill control.
Pro tip: Set up in a well-ventilated area to avoid inhaling nail dust, which can irritate lungs.
Set up in a well-ventilated area to avoid inhaling nail dust, which can irritate lungs.
Why Prep Matters
Skipping these steps can lead to uneven drilling or infections (a risk for 1 in 10 DIY users, per a 2023 salon survey). A quick 5-minute setup ensures your nails stay healthy and your results look polished.
Check out top nail drills and bits for the best tools to start with.
Choosing the Right Nail Drill Bits: A Beginner’s Guide
Match your bit to the task for smooth, safe results. Ready to set up your drill?
Types of Nail Drill Bits
Different bits suit different nail needs. Here’s a quick rundown:
- Barrel bits: Rounded and wide, perfect for shaping and smoothing nail surfaces.
- Diamond bits: Precise for delicate cuticle work, but use them lightly to avoid skin irritation.
- Cone bits: Tapered for removing acrylics or gel polish, great for detailed areas.
- Sandstone bits: Gentle, ideal for buffing natural nails without thinning.
Matching Bits to Your Nail Tasks
Choosing the right bit ensures precision and protects your nails:
- Natural nails: Use fine-grit sandstone bits to gently shape or buff, preventing over-thinning.
- Gel polish: Medium-grit barrel bits thin top layers safely, taking about 2–3 minutes per nail.
- Acrylic removal: Cone bits at medium speed (10,000 RPM) remove layers after soaking, reducing nail stress.
- Toes: Larger barrel bits handle thicker toenails efficiently, minimizing pressure.
A 2024 nail tech survey found 40% of beginners damage nails by using overly coarse bits. Stick to fine or medium grits for safer results.
Pro Tips for Bit Selection
- Start with a multi-bit kit (costs $10–$20) to experiment affordably.
- Check bit labels for grit size: Fine (100–180) for delicate tasks, coarse (180+) for heavy removal.
- Clean bits with alcohol after each use to maintain sharpness and hygiene.
Check out 7 must-know nail drill tips for beginners to boost your skills.
Step-by-Step Instructions: Safe Usage for Natural Nails
Drill gently and check often to achieve flawless natural nails without salon costs.
Steps for Safe Drilling on Natural Nails
- Set Up the Drill: Power on at a low speed (5,000–10,000 RPM) to keep things gentle. Hold the drill like a pencil for better control.
- File Sidewalls Carefully: Use a fine-grit sandstone bit. Glide along nail edges in short, 2–3 second bursts, lifting often to prevent heat buildup.
- Buff the Surface Lightly: Move the bit in small, circular motions across the nail. Check smoothness every 10 seconds to avoid over-filing.
- Clean Up: Wipe nails with a damp cloth to remove dust, then moisturize with cuticle oil for hydration.
Why These Steps Work
Natural nails are delicate, and over-drilling can thin them (a mistake 30% of beginners make, per a 2024 nail care study). Low speed and short bursts reduce heat, while frequent checks ensure you don’t remove too much nail. This method keeps nails strong and smooth, perfect for a natural or polished look.
Quick Tips for Success
- Practice on a fake nail first to get the feel.
- Keep a light touch; let the drill do the work.
- If nails feel warm, pause for 10–15 seconds.
Adapting for Specific Tasks: Gel Nails, Acrylic Removal
Tailor your drill settings and bits to each task for safe, salon-quality results.
Gel Nails: Thinning and Removal
- Bit: Fine-grit diamond or barrel bit.
- Technique: Set drill to low speed (8,000–12,000 RPM). Gently thin the top gel coat in circular motions, avoiding the base layer to protect natural nails. Takes 2–3 minutes per nail.
- Tip: Stop when the gel looks matte; over-drilling risks nail thinning (a common issue for 25% of DIY users, per a 2024 nail survey).
Acrylic Removal: Safe and Efficient
- Bit: Medium-grit cone bit.
- Technique: Soak nails in acetone for 10 minutes first to soften acrylic. Drill at medium speed (10,000–15,000 RPM), removing layers in short bursts. Takes 10–15 minutes per hand.
- Tip: Work in layers to avoid heat buildup; hydrate nails with oil afterward.
Cuticles: Delicate Precision
- Bit: Fine-grit diamond bit.
- Technique: Use low speed (5,000–8,000 RPM) with a feather-light touch. Gently clean around cuticles, avoiding skin contact to prevent irritation.
- Tip: If redness occurs, stop and apply cuticle cream. Pros recommend practicing on fake nails first.
Toes: Tackling Thicker Nails
- Bit: Larger barrel bit (medium grit).
- Technique: Stabilize your foot on a flat surface. Drill at medium speed (10,000 RPM), shaping toenails in short passes to manage thicker surfaces. Takes 3–5 minutes per foot.
- Tip: Keep a towel nearby to catch dust for a cleaner workspace.
Advanced Tips for Electric Nail Files
Once you’ve mastered the basics of nail drilling, it’s time to level up. These advanced tips help you fine-tune your technique, adjust speeds like a pro, and maintain your tools for long-lasting, safe use. Perfect for DIYers aiming for salon-quality results at home without risking nail damage.
Fine-Tuning Speed and Technique
- Gradual speed increases: Start at 5,000–10,000 RPM for beginners, but pros can bump up to 15,000–20,000 RPM for faster shaping or acrylic removal. Check nail temperature every 20 seconds to avoid overheating (a risk for 20% of users, per a 2024 nail tech study).
- Precision control: Hold the drill at a 45-degree angle for better leverage when buffing or shaping. Practice on a plastic nail tip to perfect your grip.
- Pulse technique: Use quick on-off motions for thick gel or acrylic to reduce heat buildup, saving 1–2 minutes per nail.
Tool Maintenance for Longevity and Safety
- Clean bits after each use: Soak bits in 70% isopropyl alcohol for 1 minute, then brush with a soft toothbrush. This prevents bacterial buildup and extends bit life (up to 6 months with proper care).
- Check drill condition: Inspect cords and bits for wear monthly; a damaged bit can snag nails, causing uneven results.
- Store properly: Keep bits in a dry, organized case to avoid dulling or contamination.
Bonus Pro Hacks
- Use a dust collector: Reduces nail dust inhalation, which 60% of frequent users report as bothersome (Nail Tech Journal, 2024).
- Apply cuticle oil pre-drilling: Softens cuticles for easier cleanup, cutting work time by 5–10%.
- Test new bits: Try them on a fake nail to gauge grit and speed before using on yourself.
Boost your skills with precise speed control and proper tool care for flawless, safe manicures. Ready to troubleshoot common issues? Let’s tackle those next.
Recover from damage with fixing brittle nails that snap too easily.
Troubleshooting Common Issues
Nail drilling can hit snags, especially for beginners. Issues like overheating, uneven shapes, or nail sensitivity can derail your DIY manicure. These quick fixes address common problems, helping you stay on track for smooth, safe results without frustration.
Quick fixes like pausing for heat, practicing on fakes, and moisturizing keep your nail game strong.
Common Problems and Solutions
- Overheating or burning smell:
- Fix: Pause drilling for 10–15 seconds to let nails cool. Reduce speed to 5,000–8,000 RPM and use short bursts. A 2024 nail care study notes 25% of users overheat nails by drilling too long.
- Tip: Apply a thin layer of cuticle oil post-session to soothe warmth.
- Uneven nail shapes:
- Fix: Practice on plastic nail tips first to master control. Use a fine-grit barrel bit and file in small, circular motions, checking every 10 seconds for symmetry.
- Tip: Mark your desired shape with a nail pencil for guidance.
- Nail or skin sensitivity:
- Fix: Moisturize with cuticle oil or cream immediately after drilling to restore hydration. Avoid drilling the same spot repeatedly.
- Tip: If redness persists, skip drilling for 2–3 days and apply a strengthening base coat.
Prevention Tips
- Check your setup: Ensure good lighting and a stable surface to avoid shaky hands, which cause uneven results.
- Use the right bit: Mismatched bits (e.g., coarse for natural nails) lead to 30% of DIY errors, per a 2023 salon survey.
- Take breaks: Limit sessions to 15–20 minutes to reduce nail stress.
Top Nail Care Products for 2025:
Strengthen, Hydrate, and Protect: These products save time on salon trips while delivering pro results, start with a strengthener for quick wins.
Essential Nail Strengtheners
These formulas repair damage and promote growth, ideal for weak or post-gel nails.
| Product | Key Features | Best For | Price Range |
|---|---|---|---|
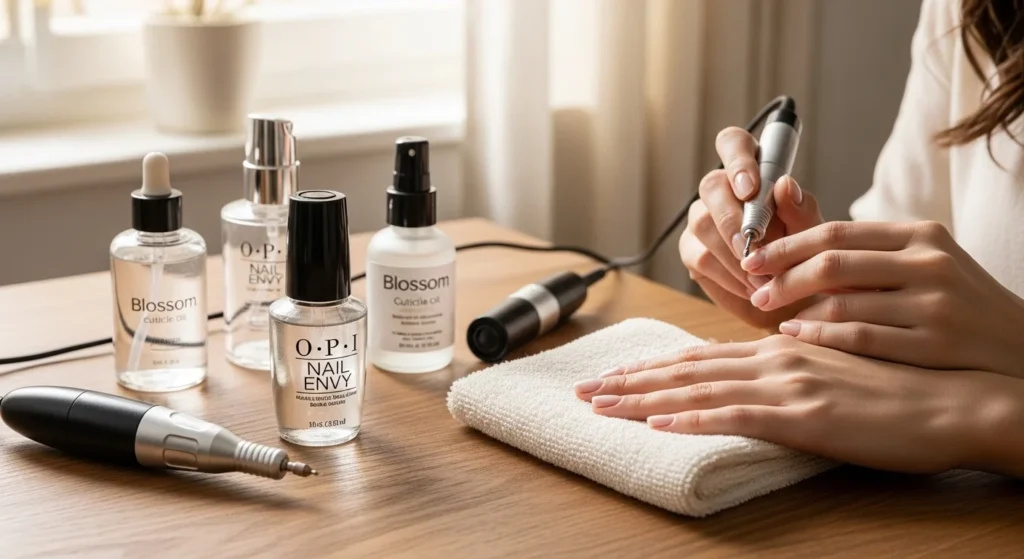
| OPI Nail Envy | Builds a protective layer in days; formaldehyde-free. | Brittle, peeling nails | $10–$15 |
| Duri Rejuvacote | Doubles nail length in weeks; daily application. | Fast growth and hardening | $8–$12 |
| Modelones Nail Hardener | Jelly texture fills ridges; extra strong formula. | Damaged, ridged nails | $7–$10 |
Cuticle and Hydration Must-Haves
Dry cuticles lead to splits— these nourish without greasiness.
- Blossom Cuticle Oil: Infused with real flowers; hydrates and scents lightly. Great for daily use; top Amazon seller.
- Essie Apricot Cuticle Oil: Apricot kernel base moisturizes skin; pro-recommended for mature nails.
- Onyx Hard as Hoof Cream: Coconut-scented; stops chips and cracks overnight.
Long-Lasting Polishes and Removers
For chip-free color and gentle removal.
- Jones Road Nail Kit: Includes base/top coat, polishes, and file; one-coat coverage.
- Mineral Fusion Polish: Fatty acids and almond oil for conditioning; breathable formula.
- Sidia Hand Exfoliant: Gentle perlite scrub with plant-based retinol; evens texture.
Tips for Your Routine
- Apply strengtheners daily for 7 days, then 2–3 times weekly.
- For mature nails, choose hydrating removers to avoid dryness.
- Trends for 2025: Biotin-infused bases and shimmery pinks.
Step-by-step tutorials & how-to guides for nail care pros and beginners
Pro Beauty Chic Tutorials & How-To