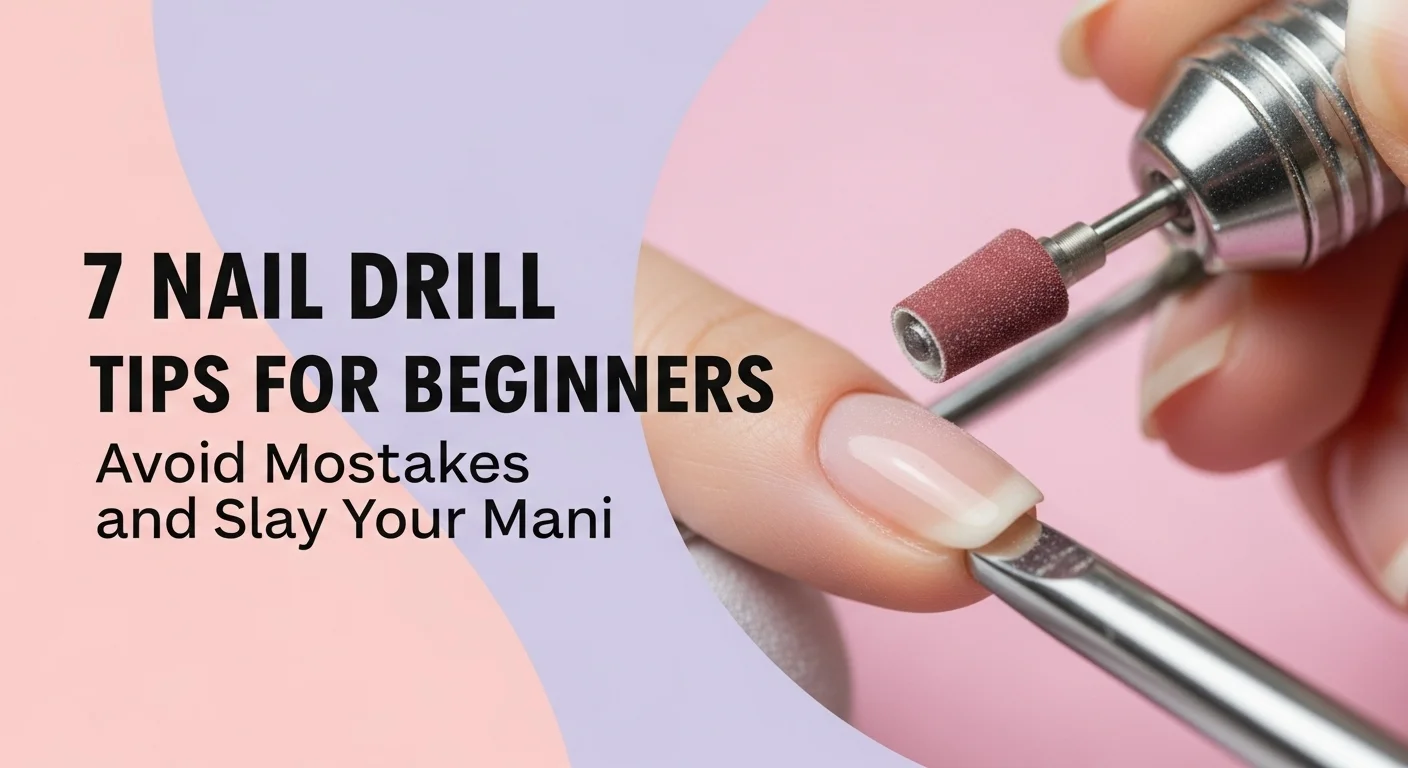
7 Must-Know Nail Drill Tips for Beginners
Using a nail drill as a beginner requires patience and attention to detail. By starting with low speeds, choosing the right bits, and prioritizing nail health, you can achieve professional-looking results safely.
Always consult your drill’s manual for specific instructions and consider professional training for advanced techniques.
Nail drills are electric tools used for shaping, filing, and refining natural or artificial nails. For beginners, they can feel daunting due to their power and precision requirements.
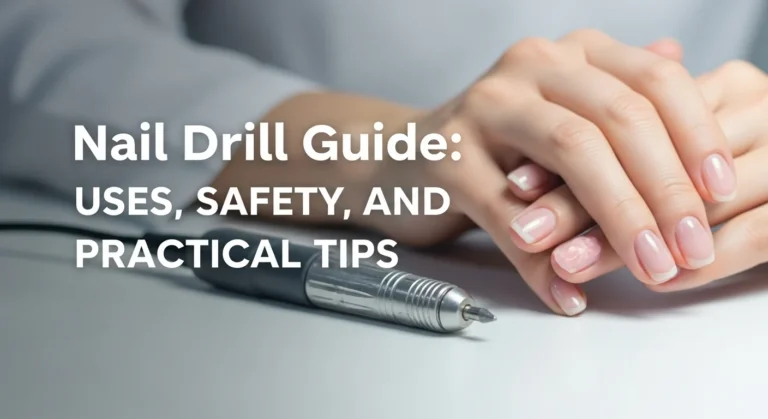
For more in-depth guidance on nail drill techniques, safety, and practical applications, check out our comprehensive nail drill guide.
1. How Do I Start Using a Nail Drill Safely?
Begin with low speed and practice on a non-living surface to build confidence.
Using a nail drill for the first time requires caution to avoid damaging nails or skin. Most drills have adjustable speed settings, typically measured in RPM (rotations per minute). Beginners should start at the lowest setting to get comfortable with the tool’s feel and control.
- Choose a low RPM: Start at 5,000–10,000 RPM for gentle filing. Higher speeds (20,000+ RPM) are for advanced users or specific tasks like acrylic removal.
- Practice first: Test the drill on a plastic nail tip or a piece of wood to understand its pressure and movement.
- Hold lightly: Grip the drill like a pen, keeping your hand steady but not pressing hard.
- Use short bursts: Work in 2–3 second intervals to avoid overheating the nail.
Table: Recommended RPM for Beginners
| Task | RPM Range | Notes |
|---|---|---|
| Shaping natural nails | 5,000–10,000 | Gentle, reduces risk of over-filing |
| Cuticle cleanup | 7,000–12,000 | Use a fine bit, light touch |
| Smoothing surface | 8,000–15,000 | Avoid prolonged contact |
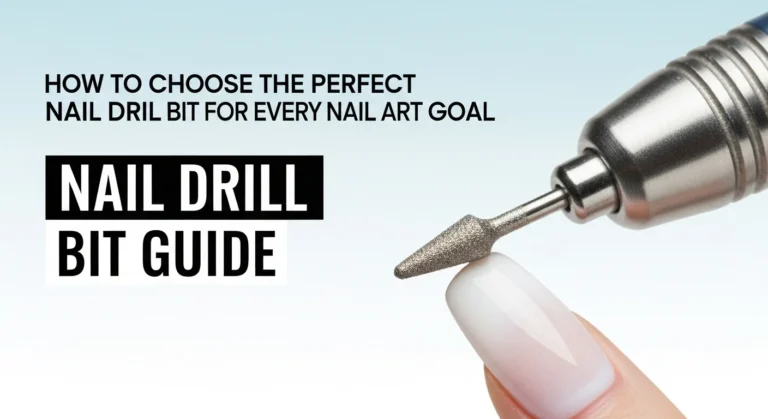
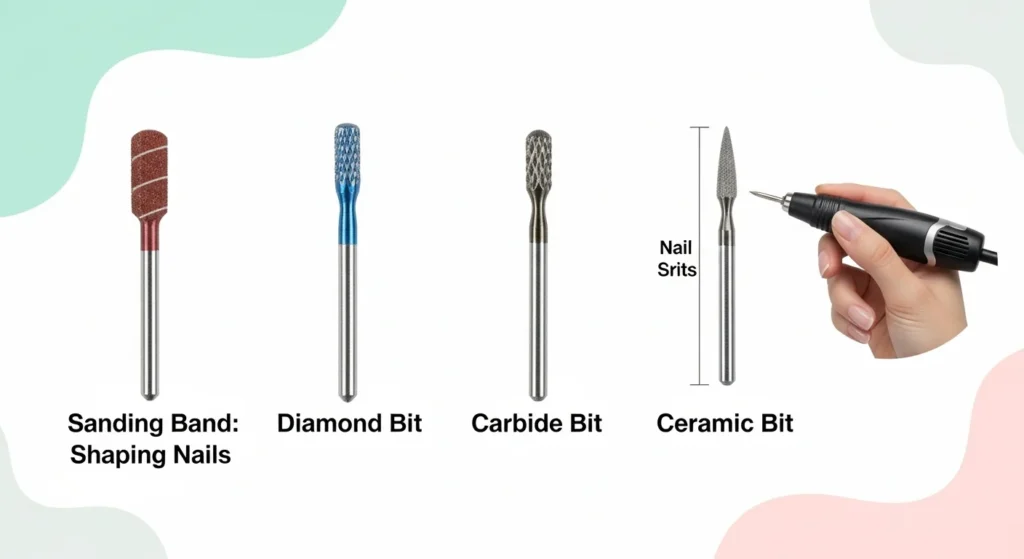
2. Which Drill Bit Should I Use?
Answer: Select bits based on the task, such as sanding bands for shaping or diamond bits for cuticles.
Nail drills come with various bits, each designed for specific purposes. Choosing the right bit prevents damage and ensures smooth results. Bits differ in material (e.g., carbide, diamond, ceramic) and shape (e.g., cone, barrel).
- Sanding bands: Ideal for beginners; used for shaping and shortening nails.
- Diamond bits: Best for precise cuticle work or smoothing edges.
- Carbide bits: Durable for removing gel polish or acrylics but require careful handling.
- Ceramic bits: Gentler on natural nails, good for smoothing or light filing.
Table: Common Drill Bits and Uses
| Bit Type | Best For | Grit/Texture |
|---|---|---|
| Sanding Band | Shaping, shortening nails | Coarse to fine |
| Diamond Bit | Cuticle cleanup, edge smoothing | Fine to medium |
| Carbide Bit | Gel/acrylic removal | Medium to coarse |
| Ceramic Bit | Smoothing natural nails | Fine to medium |
Tip: Check your drill’s manual to ensure bit compatibility. Most drills use a universal 3/32-inch shank size.
3. How Can I Avoid Pressing Too Hard?
Answer: Let the drill do the work by using light, controlled pressure to prevent nail damage.
Applying too much pressure can thin the nail plate or cause a burning sensation due to friction. Beginners often press harder than needed, thinking it speeds up the process.
- Use minimal pressure: The drill’s rotation should do the filing; your role is to guide it.
- Check for heat: If the nail feels warm, stop immediately and reduce pressure or speed.
- Work in layers: Remove material gradually instead of trying to file deeply in one pass.
- Rest frequently: Pause every few seconds to assess progress and avoid over-filing.
4. How Do I Keep My Nail Drill Bits Clean?
Answer: Clean and sanitize bits after each use to maintain hygiene and performance.
Proper cleaning prevents bacterial buildup and ensures bits last longer. Unclean bits can also cause uneven filing or infections.
- Remove debris: Use a small brush (like a toothbrush) to scrub bits after use.
- Soak in disinfectant: Submerge metal or ceramic bits in a salon-grade disinfectant for 10 minutes. Follow product instructions.
- Dry thoroughly: Air-dry or use a clean cloth to prevent rust on metal bits.
- Replace sanding bands: These are single-use; discard after each session.
Note: Never share unsanitized bits with others to avoid cross-contamination.
5. What’s the Best Way to Hold a Nail Drill?
Hold the drill at a 45-degree angle for optimal control and smooth results.
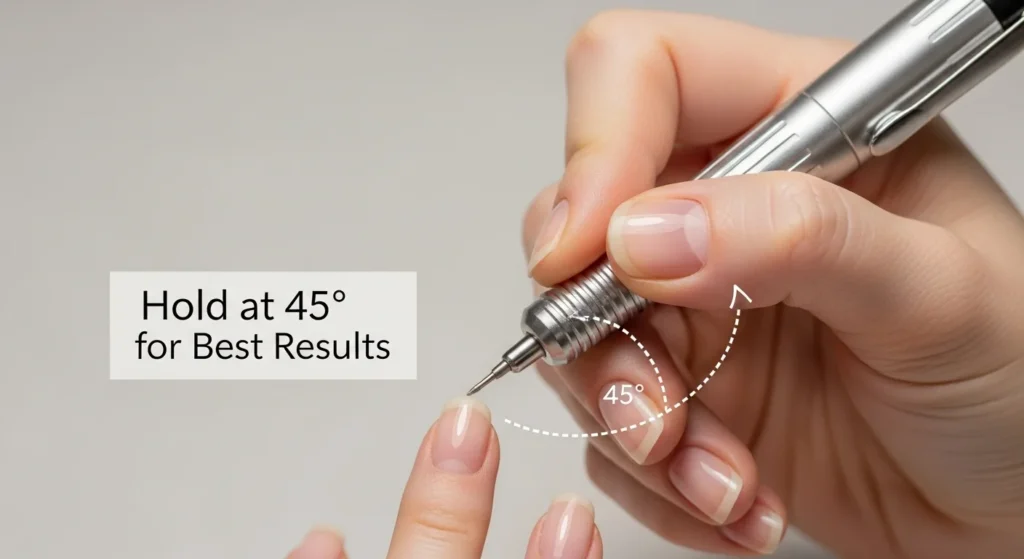
The angle and grip affect precision and safety. Holding the drill incorrectly can lead to uneven filing or accidental skin contact.
- Pen-like grip: Hold the drill lightly, like you’re writing with a pen, for better control.
- 45-degree angle: Position the bit at a 45-degree angle to the nail surface for smooth, even filing.
- Stabilize your hand: Rest your hand on a flat surface to reduce shaking.
- Move steadily: Glide the bit across the nail in small, controlled motions, avoiding jerky movements.
6. How Do I Protect My Nails After Using a Drill?
Answer: Moisturize and nourish nails to prevent dryness and brittleness post-drilling.
Nail drills can dry out the nail plate and surrounding skin, especially with frequent use. Proper aftercare maintains nail health.
- Apply cuticle oil: Use a nourishing oil (e.g., jojoba or vitamin E-based) to hydrate cuticles and nail beds.
- Moisturize hands: Apply a fragrance-free hand cream to lock in moisture.
- Avoid overuse: Limit drilling to once every 1–2 weeks for natural nails to prevent thinning.
- Check for damage: Inspect nails for signs of over-filing, like redness or sensitivity, and pause use if noticed.
7. How Can I Improve My Nail Drill Skills?
Answer: Practice consistently on low-risk surfaces and focus on one nail at a time.
Mastering a nail drill takes time and patience. Regular practice builds confidence and precision.
- Start small: Practice on one or two nails per session to focus on technique.
- Use fake nails: Experiment on artificial tips to avoid damaging your natural nails.
- Watch tutorials: Visual guides on platforms like YouTube can demonstrate proper techniques.
- Track progress: Keep a notebook of what settings or bits work best for you.
Tip: Set a timer for 5-minute practice sessions to avoid fatigue and maintain focus.