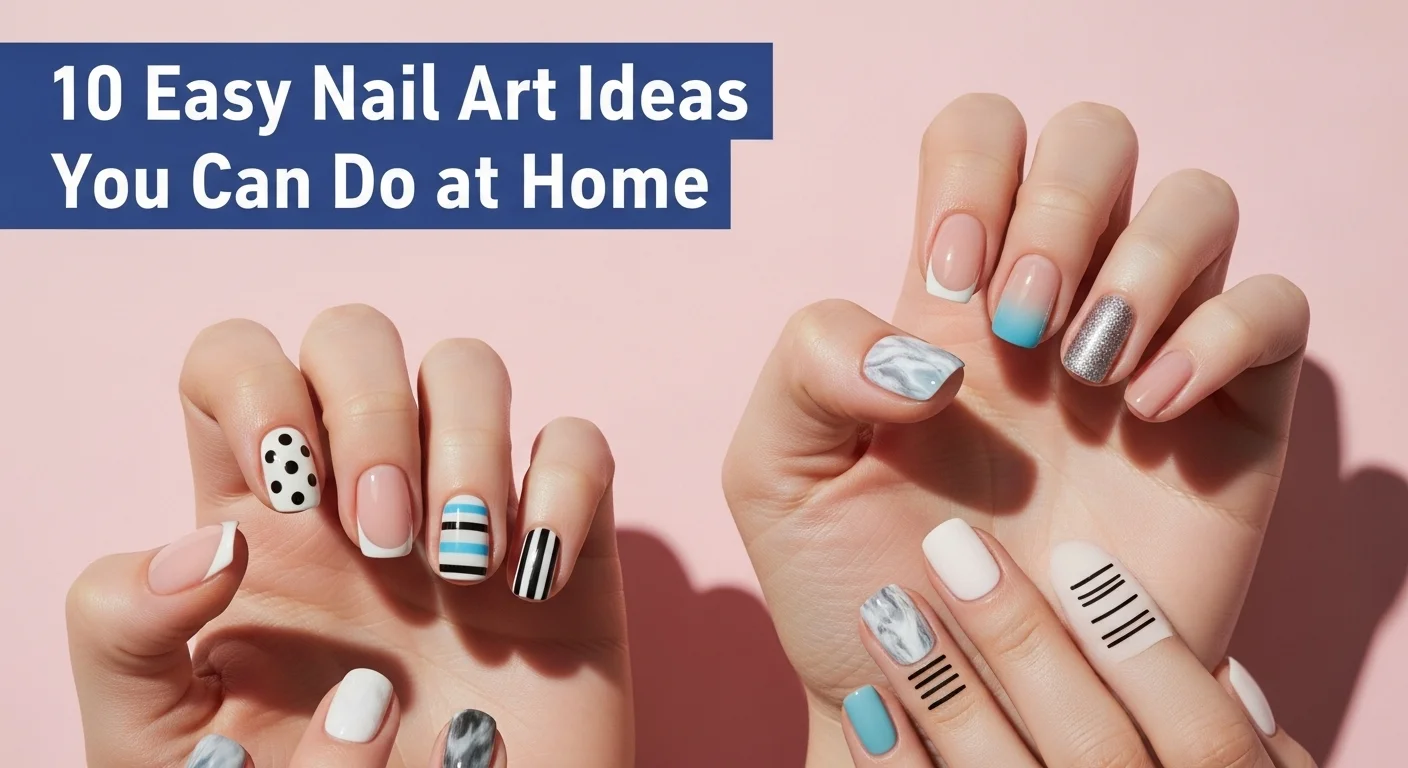
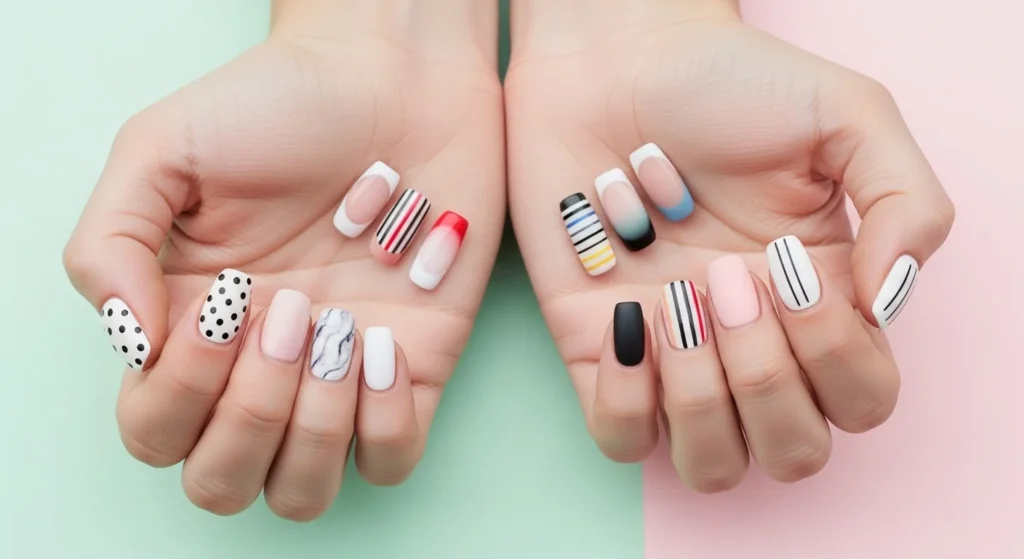
10 Easy Nail Art Ideas
You don’t need a salon to try creative nail art. Simple designs like polka dots, French tips, stripes, gradients, glitter accents, negative space, marble effects, color blocking, matte finishes, and minimalist lines can be done at home. Most only require basic nail polish, tape, or household tools, making them easy and budget-friendly.
10 simple nail art designs you can recreate at home without professional tools. It includes step-by-step methods, minimal supplies, and practical tips for beginners. Each style ranges from quick polish patterns to slightly detailed looks using household items.
Key Facts:- Most designs use basic nail polish, tape, or a dotting tool (or substitutes like bobby pins).
- Time required: 10–30 minutes per design.
- Suitable for short and long nails.
- No advanced skills or salon equipment needed.
10 Nail Art Ideas You Can Do at Home
1. Polka Dots
- How: Use a toothpick, bobby pin, or dotting tool dipped in polish.
- Best for: Beginners; quick and clean look.
- Tip: Apply dots over a contrasting base color for visibility.
2. French Tips with Tape
- How: Place tape across nails, paint the tips, then remove the tape.
- Best for: A neat, classic finish.
- Tip: Try bold colors instead of white for a modern variation.
3. Striped Nails
- How: Apply thin strips of tape across the nail, paint over, then peel off.
- Best for: Geometric or multi-color designs.
- Tip: Allow each layer to dry before applying the next color.
4. Gradient (Ombre) Nails
- How: Dab two polish colors onto a sponge and press onto nails.
- Best for: Blended, soft looks.
- Tip: Use a makeup sponge for smoother blending.
5. Glitter Accent Nail
- How: Apply glitter polish on one or two nails for contrast.
- Best for: Adding detail with minimal effort.
- Tip: A sponge can concentrate glitter for a denser effect.
6. Negative Space Design
- How: Leave parts of the nail unpainted or cover with tape before applying polish.
- Best for: Minimalist looks.
- Tip: Seal with a clear topcoat to protect exposed nail areas.
7. Marbled Nails
- How: Drop polish colors into water, swirl lightly, dip nail, and clean edges.
- Best for: Swirled, artistic patterns.
- Tip: Apply petroleum jelly around cuticles to ease cleanup.
8. Color Block Nails
- How: Divide nails with tape and fill each section with different colors.
- Best for: Bold and playful styles.
- Tip: Use quick-drying polish to reduce smudges between sections.
9. Matte Finish
- How: Use matte topcoat or hold nails over steam briefly before polish sets.
- Best for: A smooth, modern finish.
- Tip: Combine matte and glossy polishes on the same nail for contrast.
10. Minimalist Lines
- How: Draw single thin lines with a fine brush or striping tool.
- Best for: Clean, simple designs.
- Tip: Metallic polish works well for precise line details.
Nail Art Tools You Can Substitute at Home
| Tool | Substitute Option |
|---|---|
| Dotting tool | Bobby pin, toothpick |
| Nail striping brush | Thin paintbrush, eyeliner brush |
| Nail tape | Regular tape cut into thin strips |
| Sponge | Makeup sponge, kitchen sponge (clean, unused) |
How to Prepare Nails Before Applying Art
Good prep helps polish last longer and prevents staining.
- Clean nails – Remove old polish and wash hands.
- Trim and shape – File nails to even length.
- Buff lightly – Smooth ridges for better polish grip.
- Apply base coat – Protects nails and prevents color bleed.
Aftercare and Maintenance
- Topcoat: Apply every 2–3 days to reduce chipping.
- Gloves: Wear during cleaning or dishwashing.
- Moisturize: Use cuticle oil or hand cream to prevent dryness.
- Touch-ups: Keep polish handy for quick fixes on chipped nails.
Common Mistakes to Avoid
| Mistake | Why It Matters | Quick Fix |
|---|---|---|
| Skipping base coat | Leads to staining, weaker adhesion | Apply clear base polish first |
| Thick polish layers | Causes smudging, uneven drying | Use thin, multiple coats |
| Rushing drying time | Results in dents and smears | Wait 2–3 minutes between coats |
| Not sealing tips | Chips start faster | Brush polish over nail edge |
Budget-Friendly Nail Art Supplies
| Item | Average Cost (USD) | Notes |
|---|---|---|
| Basic polish set (3–4 colors) | $8–15 | Works for most designs |
| Dotting tools (set) | $5–10 | Or use bobby pins |
| Nail tape | $3–6 | Painter’s tape works too |
| Matte topcoat | $5–8 | Optional for modern looks |
| Nail polish remover | $3–6 | Choose acetone-free if nails are dry |
Health and Safety Considerations
- Ventilation: Apply polish in a well-ventilated room.
- Breaks: Give nails 1–2 polish-free days per month to prevent brittleness.
- Sensitive skin: Test polishes on a small patch of skin if prone to allergies.
- Children: Supervise use—avoid acetone remover for kids’ nails.